5 Step Mid Century Furniture Makeover – How to Refinish a Laminated Piece of Furniture

If you’re looking for a somewhat simple DIY to spruce up your laminate covered piece of mid-century furniture, this is the project for you!

The process is not very difficult, it might take a few days because of the drying time that is necessary. Don’t let the time discourage you. The final results are totally worth it and you end up with a fun piece of mid-century furniture.    

When choosing a piece to refinish you should go with the lower quality versions of mid-century furniture. Not all mid century furniture is made equally and more often than not, the furniture that you’ll come across is not of a high quality. 

Most of those side tables, record consoles, and display cabinets are all fiberboard covered in a faux wood or marble shiny laminate. These pieces can be and should be refinished and painted! 

​The higher quality designed pieces are plywood covered in a teak or rosewood veneer, and usually should not be painted. If the higher quality pieces need refinishing they should be stripped, sanded and restained, into their original glory. That’s a project for another time. 

Let’s get started!
 

Materials

 
  • Dust Mask
  • Sand paper, 150 and 400 grit
  • Orbital sander
  • Sanding block
  • Painters tape
  • Lint free cloth
  • Zinnser’s  Cover Spray Paint Primer
  • Brushes, large and small
  • Paint Oil/ Latex
  • RustOleum Chalked Matte finish spray paint
 

Step One –  Prepping and Sanding

First, you’ll want to remove all shelves, doors, knobs, legs, anything that can come off should be taken off. It’s important to do this because you’ll need to paint EVERY SURFACE, even the ones you won’t regularly see, this will give the piece a finished look. If there is any brass finishing that cannot be removed, tape over these parts with painter’s tape.

Prepping your piece of furniture for paint is vital. Most surfaces have a smooth or glossy finish that will not allow the paint to adhere. To rough up the surface you can use an orbital sander or a piece of sandpaper, 150 grit. If you are using sand paper it is helpful to have a block of wood, or something like that, to wrap your sandpaper around so you get a more even sanded surface.
This step is often dusty, a dust mask is highly recommended since this is a fine dust and can be easily inhaled. Sand outdoors or in a well-ventilated area.  Use a damp rag or a vacuum to wipe us the dust as you go.
The goal is just to take off the top layer of the laminate, so that you have a dull, scuffed finish. Depending on the finish of the piece, you may get away with just a light sanding, or you might have to go a little deeper to remove the smooth finish. If you are working with sandpaper, sand in circular motions over the entire surface, all edges and legs. Often the undersides of the furniture are not finished and have exposed particle board, don’t sand those surfaces, the paint will absorb better.  
 

Step Two- Cleaning

Vacuum up all the dust you can and finish off with a damp rag. Make sure you use a lint free rag, you don’t want any stray fibers to get caught in the paint. Feel all surfaces, make sure there aren’t any bumps or major scratches, if there are sand those down and clean.

Step Three- Priming

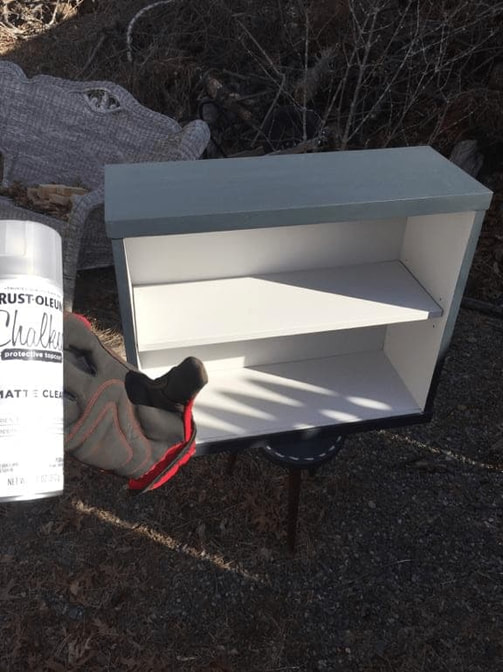
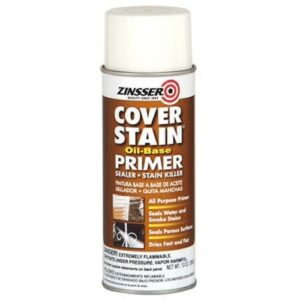
Priming the piece for painting is a necessary step, especially if you are going from a dark finish to a lighter paint. Using a spray primer, like Zinnser’s cover stain ,makes this step super-fast and easy, leaving no brush marks that will need to be sanded away. Make sure you stand the recommended distance away and spray in even strokes, or else you’ll get a messy finish.

You can use a brush on primer if you have one already, just make sure to get an even surface, because those brush marks will show up if you don’t sand them down.

After the primer has set, carefully examine the surface to make sure it is smooth. Dust, pet hair, bugs, random stuff can end up stuck in the primer while drying. Do your best to remove anything that ends up on the surface, pluck it out or sand it down. This is an important step to how smooth your finish will be in the end, so take the time to get it right!

Step Four- Painting!

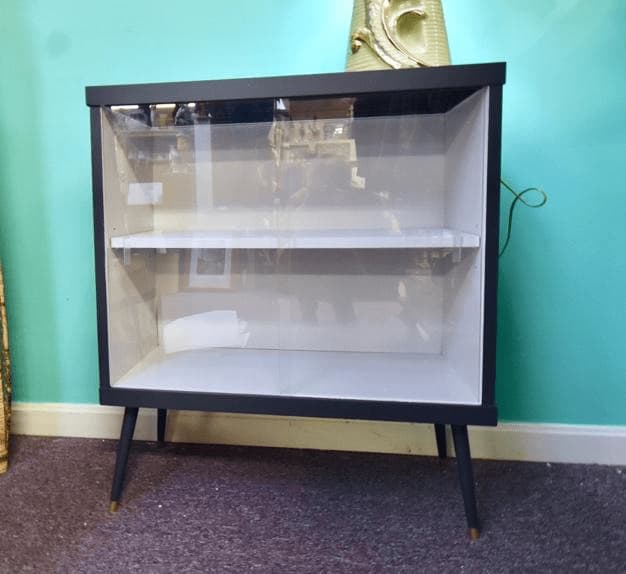
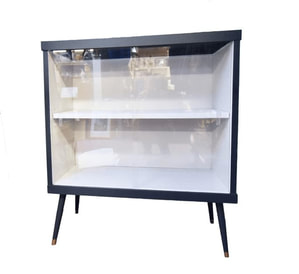
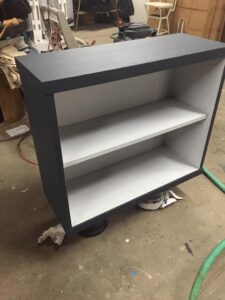
You’ll need to decide if you want a matte, satin, or glossy finish. If the piece is going to be used in a high trafficked area, you’ll want a more glossy finish so that it will wipe down easily. If you want a more modern look for a display case, like this one, a matte finish will look good. You can pretty much use whatever type of paint you like, oil or latex based. To paint the piece, you can use a brush or a roller, the roller might be easier for those who aren’t used to painting with a brush and getting a smooth finish. It is essential to use new or very clean brushes and rollers, you do not want any old paint or fibers to get in the way of your smooth finish. A cheap roller can also leave you with an orange peel finish that is not appealing.
Using a smaller paint brush can help with getting into tight corners and will make doing the edges cleaner and easier. Applying three coats of paint is necessary, if you do less the paint is more likely to scratch, chip or peel away. Also, allowing the paint to fully dry in between layers will help to strengthen each layer. After each layer has dried, run your hand over every surface to feel for any debris. If needed sand and wipe down before painting. To finish off the legs it’s helpful to set up a way to keep the legs upright. You can use a box or a piece of foam, this will make painting and drying a little easier. The feet of the spindle legs were capped with brass and needed to be spruced up, so they got spray painted in a brassy gold. Do at least two coats and allow them to fully dry between coats. Use a smaller paintbrush to paint the legs, you’ll have more control over the paint and the edges.

Step Five- Assembling and Sealing

Once all the surfaces are painted, you can reassemble the piece.

Be careful when putting shelves and back boards into place, you don’t want to force anything too much. You might scrape some paint off in the process, but you can touch that up once everything is in place.

Once the touch up paint has dried you can move on to sealing! ​
Sealing the piece adds an extra layer of protection and creates a more cleanable surface. Rustoleum Chalked matte clear is great for this.

When spraying on a sealing coat, make sure you are standing the recommended distance away and spray in uniformed motions. Standing too close and over spraying one section will result in an uneven finish, ruining all your hard work!

​Do a few practice sprays if you aren’t familiar with spray painting and always allow each coat to fully dry before applying another.
 

Finished Product!

And that’s it! You’ve taken a cheap-o piece of furniture and turned it into something worth having in your house! ​