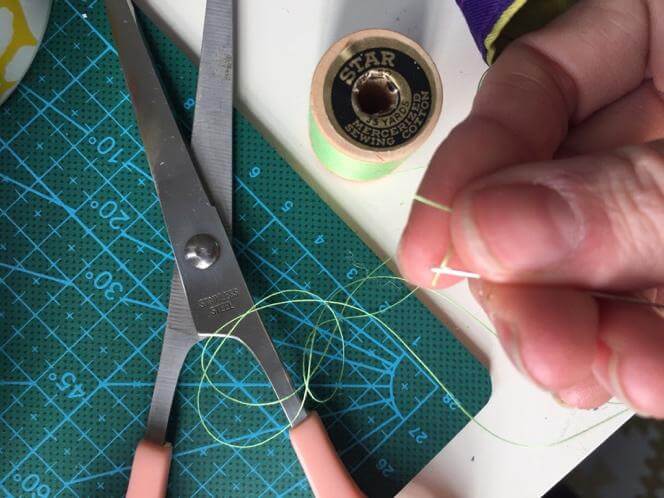
How to remove shoulder pads From Vintage Pieces in 6 steps!

Don’t let big bulky shoulder pads keep you from getting that great vintage piece! Check out this simple tutorial on how to easily remove shoulder pads from a jacket or any kind of top that has a lining and sew it back up by hand!  

**One thing to keep in mind when deciding to remove shoulder pads is the cut and fit of the garment, the shoulder pads were a part of the original design so the cut of the fabric is made to fit the shoulder pad. So, if you remove the shoulder pad the cut of the fabric may slouch or be a bit larger.   

What you’ll need:

  • Seam ripper, xacto knife, or scissors
  • Needle
  • Thread

STEP 1

 
First, you want to feel your garment around the shoulder pads. Try to determine how they are connected to the lining of the jacket. Usually the shoulder pads will be sewn on at two or three points. Most shoulder pads are lightly attached to the lining by a few tack stitches. Sometimes shoulder pads are fully sewn into the jacket lining, if this is the case it might be a little bit more difficult to remove.

STEP 2

 
Now examine the inside of your garment and see where the lining is attached to the jacket. You want to identify an area of the garment where you can open up a seam and slip your hand in to cut and remove the shoulder pads. You don’t want to choose a spot that is sewn closed, you want to be able to reach the shoulder pad. You also want to choose an opening that has only one line of stitching, this will make it easier to sew close when you are done.

STEP 3

 
Now, carefully, take an xacto, seam cutter, or scissors and cut from the center of the area. You’ll want to stay away from edges because those stitches have probably been reinforced and you don’t want to undo that. Try not to make a huge opening, because you are going to have to sew it closed when you are done.  

STEP 4

 
Slide your hand through the hole and find the shoulder pads.
These shoulder pads were held on with a tag of fabric and that was easy to cut without cutting any of the lining or the interior stitching.
If your shoulder pad is sewn into the lining, make sure you are cutting away only the stitching that is holding the shoulder pad in place and not the stitching of the jacket. Remove the shoulder pads and do what you wish with them.

STEP 5

 
Now that the shoulder pads have been removed, you’ll need to sew up the hole. Try to find a thread that is a similar color to that of the lining.
There are many kinds of stitches you can do to close the hole. It all depends on how clean you want the closure to look. A blind or hidden stitch is a great one to learn and use because like the name says you won’t see the stitch when you are done.

STEP 6

 
A blind stitch is done like this:

  • Double up your thread and tie the end in a knot.
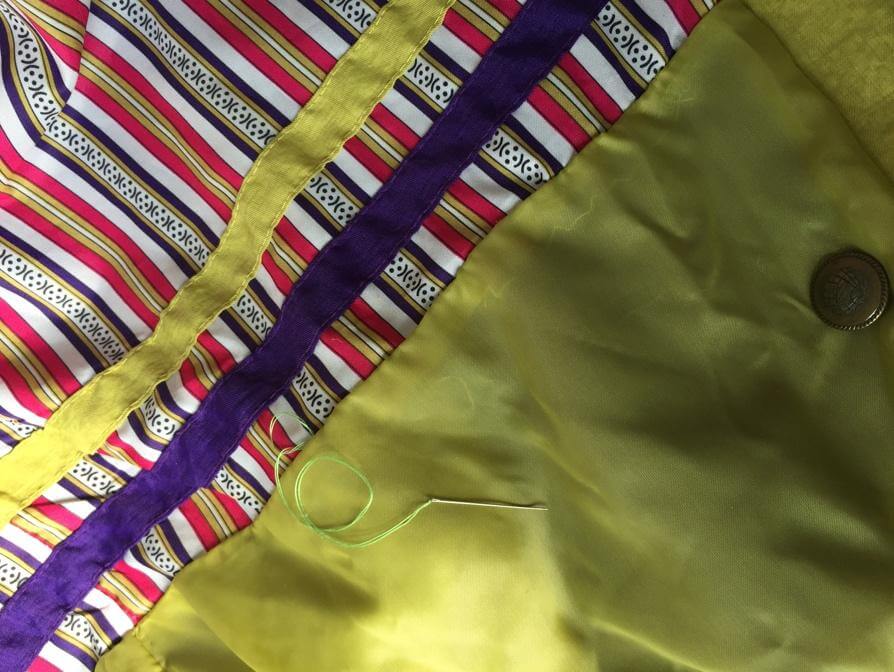
  • Start on the inside of the hem. Make sure your knot is remains on the inside of the hem when you start stitching.
  • Right next to where you threaded the needle through the hem, run the needle through the other side of the fabric.
  • Then go down into the fold of the hem, the needle will run underneath the fold of the hem and bring it up through the hem, keep your stitches close to the last one to keep a tight closure.  
  • Right next to where your needle has come through, run your needle through the other side of the hem.
  • Then go back to and do it again, keeping your stitches close so that no puckering or openings will be left.
  • When finishing, run the needle through a few times and knot it off and tuck the ends of the thread into the stitch.
There are many youtube videos and pictures on google, just search blind stitch, slip stitch or ladder stitch.